The best Gluten-Free Buttermilk Waffles recipe! These light and fluffy vegan waffles are crisp on the outside, tender on the inside, and made with dairy-free buttermilk! These easy homemade waffles are healthy, allergy-free, and a classic breakfast from scratch that's customizable and freezer-friendly!

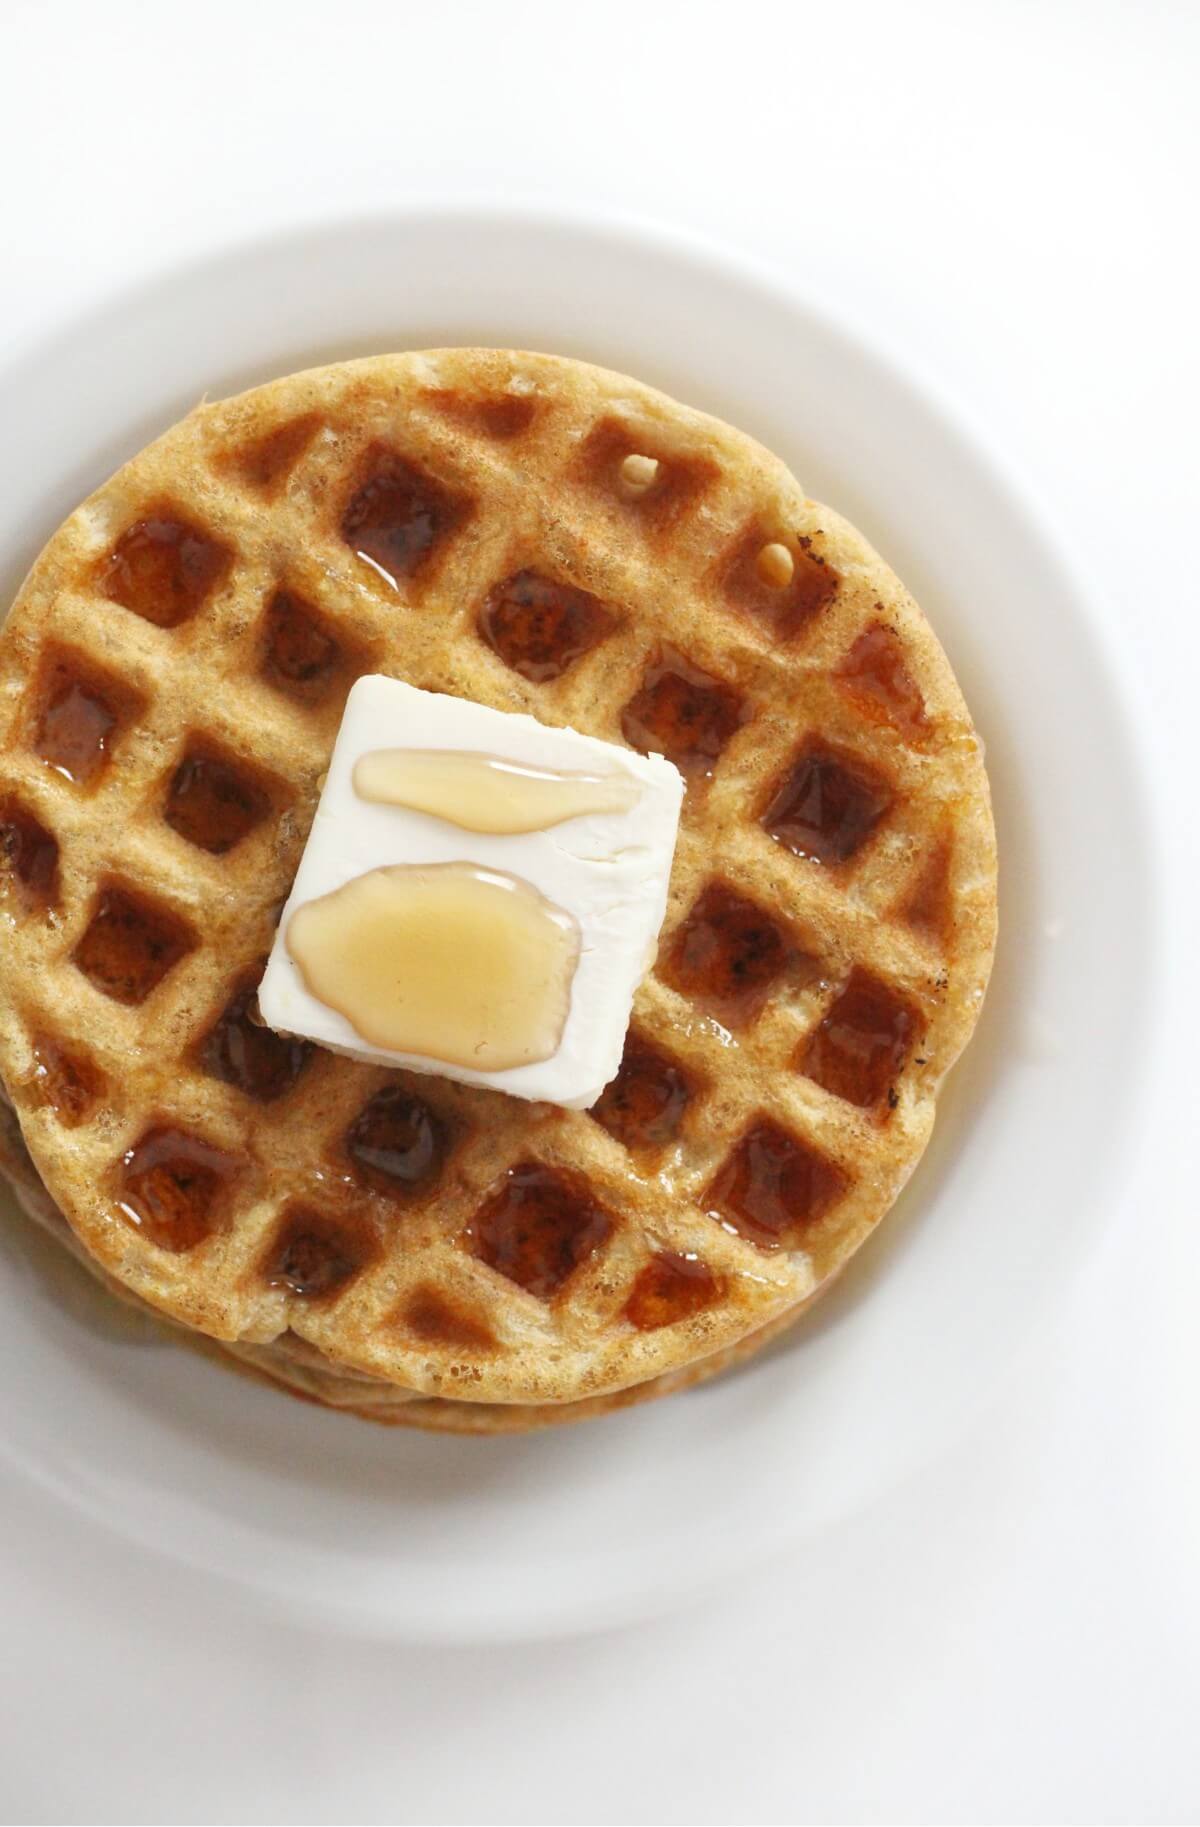
Fresh, crispy, homemade waffles in the morning? Cutting that first forkful of fluffy and tender waffle, still steaming from the waffle iron, and perfectly soaked with dairy-free butter and maple syrup. Sign me up! There are typically 2 camps when it comes to the classic breakfast showdown. Either waffles or pancakes. I love my pancakes, but there's no denying a stack of crisp and tender waffles! I think we can all agree that turning down a plate of gluten-free buttermilk waffles would never be a good idea!
The Best Gluten-Free Buttermilk Waffle Recipe
A staple, a classic, and a from-scratch recipe you need in your back pocket! You'll love how easy these are to make ahead of time and stash in the freezer for fuss-free morning breakfasts during the hectic work week and how quick they are for a homemade weekend breakfast just like grandma used to make! These healthy waffles are...
- Gluten-Free
- Vegan
- Allergy-free (Dairy-Free, Soy-Free, Egg-Free, Nut-Free, Peanut-Free, Wheat-Free, Sesame-Free, Corn-Free, Coconut-Free)
- Sugar-Free or Low-Sugar
- Super Kid-Friendly
- Quick and Easy
- Meal Prep & Freezer-Friendly
- 100% Customizable
Simple Ingredients Needed

- Gluten-Free All-Purpose Flour + Starch: Use your favorite gluten-free all-purpose flour for this recipe. No need to get fancy, but this provides the structure for the waffles. Adding cornstarch or arrowroot will make your waffles super crispy on the outside while remaining fluffy and tender on the inside.
- Baking Powder + Baking Soda: Extra baking powder will make your waffles fluffy, while the baking soda reacts with the buttermilk to help with light crispiness.
- Granulated Sweetener + Vanilla Extract: Add just enough sweetness with your choice of sweetener and a splash of vanilla for flavor.
- Vegan Buttermilk: This is where the magic happens! You can make simple dairy-free buttermilk by combining light canned coconut milk and white vinegar. The creamy milk with the acidic vinegar provides richness and that classic tanginess you get with buttermilk.
- Aquafaba: Whipping up some aquafaba (canned chickpea liquid) acts like egg whites for binding and makes these vegan waffles "out-of-this-world" light and fluffy!
- Vegan Butter: To keep these waffles tender and moist, melted vegan butter is essential for the batter!
How Does Buttermilk Affect Waffles?
Using buttermilk in waffles provides the acid needed for the baking soda to react to and activate. It allows the waffles to rise (without the need for yeast) and makes your waffles light and fluffy due to the air pockets it produces when exposed to heat!
Can I Substitute Milk For Buttermilk?
If you use plain milk here without the addition of an acid, the baking soda will not activate. You would need to increase the amount of baking soda, but your waffles would come out less crisp and fluffy (i.e. soggy waffles). By making your own vegan buttermilk with plain unsweetened milk and acid, white vinegar, even lemon juice, there's no need to worry about substituting.
How To Make Healthy Vegan Buttermilk Waffles

- First, make your buttermilk by mixing together the non-dairy milk and vinegar.
- Whisk together the dry ingredients before adding the buttermilk.
- Whip the aquafaba until frothy and then add it to the batter.
- Add in the melted vegan butter and mix the batter together until very bubbly and reactive (don't over mix!).
- Add the batter to a very hot waffle iron and let the magic happen!
Tips To Ensure Crispy Waffles
- Pairing whipped aquafaba with the homemade vegan buttermilk. The aquafaba balances out the richness of the buttermilk and adds more liquid to the batter. The aquafaba acts like egg whites, keeping your waffles super light, airy, and fluffy! Also, note that homemade vegan buttermilk with a light non-dairy milk will never be as "rich" as dairy-based buttermilk! Your waffles won't be weighed down.
- Combining starch with flour. This makes the structure, the base for the waffles so light and is essential for the secret crispy outside and soft tender inside.
- High heat on your waffle iron. Make sure your waffle iron is super hot! Let it preheat while you make your batter so it's ready to go. Never place batter on a cold or lukewarm waffle iron. Otherwise the reaction you want to happen with the baking soda...won't.
- Use your oven. Any time you need to do batches of something (pancakes or waffles!) utilize your oven on a low setting! Set your oven to 250°F and once your first batch of waffles is done, place them in a single layer on a baking sheet in the heated oven. This allows the waffles to get a tad bit crispier and stay warm until you serve them. Don't let them stay in the oven too long. Up to 10 minutes is good and they will not burn!

Why Are My Waffles Soggy?
The main reason your waffles are soggy is that your waffle iron was not hot enough. The high heat of the waffle maker "sears" the batter and helps absorb excess moisture. This is why you will see steam coming out of your waffle maker during the cooking process! It's the excess moisture evaporating as it boils off (it's a good thing!) Don't let your finished waffles sit in your waffle maker after the indicator turns off, telling you it's done. Remove the waffles right away before the grates start to cool down.
Why Do My Vegan Waffles Stick?
Make sure your waffle iron is non-stick and that you use a thin coating of oil or spray on your grates. You do not want to add too much as this will lead to soggy waffles. Take a paper towel and whip the waffle iron grates with the oil to get it into all the nooks and crannies before heating. In between batches of waffles, very lightly spray extra oil if needed. When removing your waffles, use the prong of a fork to gently lift the edges off the waffle maker grates.

The Best Waffle Topping Ideas
This is where the creativity comes in! You can be as fancy or as simple as you want!
- Pure Maple Syrup
- Vegan Butter
- Sugar-Free Syrups
- Fresh Fruits (berries, apple chunks, pears, banana)
- Fried Vegan Chicken
- Chocolate Chips
- Nut Butter or Seed Butter
- Fruit Jams, Jellies, Preserves, Butters
- Honey (Vegan Honey)
- Avocado, Savory Seasoning, & Hot Sauce
- Vegan Cream Cheese
- Frosting & Sprinkles

How To Batch & Freeze Buttermilk Waffles
- Make as many waffles are you'd like following the instructions of the recipe.
- Allow your waffles to cool completely to room temperature in a single layer on a wire rack (like cookies!)
- Transfer the waffles to a baking sheet to freeze solid in a single layer in the freezer.
- Once frozen, wrap them individually in wax paper and then into a freezer-safe bag or container. These are best if used within 6 months.
How To Reheat Frozen Waffles:
- You can take a frozen waffle directly from the freezer and pop it into your toaster or, for larger-sized waffles, you can toast it back up in the oven at 350°F for about 10 minutes (flipping halfway through).
Storing Leftovers:
- You can store leftover waffles in the fridge for 3-4 days. Wrap each waffle in a paper towel and place it in an airtight container or Ziplock bag. You can re-toast them in a toaster or in the oven at 350°F until warmed through and crisp.
More Delicious Gluten-Free Waffle Recipes:
- Chocolate Chip Waffles
- Blueberry Waffles
- Carrot Cake Waffles
- Dippable Applesauce Waffles
- Pumpkin Waffles

Gluten-Free Buttermilk Waffles (Vegan, Allergy-Free)

The best Gluten-Free Buttermilk Waffles recipe! These light and fluffy vegan waffles are crisp on the outside, tender on the inside, and made with dairy-free buttermilk! These easy homemade waffles are healthy, allergy-free, and a classic breakfast from scratch that's customizable and freezer-friendly!
- Prep Time: 10 Minutes
- Cook Time: 10 Minutes
- Total Time: 20 minutes
- Yield: 8 Small, 4 Large Waffles 1x
- Category: Breakfast
- Method: Bake
- Cuisine: American
Ingredients
- 1 ½ Cups Gluten-Free All-Purpose Flour
- ½ Cup Arrowroot or Corn Starch
- 2 Tsp Baking Powder
- 1 Tsp Baking Soda
- 1-2 TB Granulated Sweetener (or preferred granulated sugar)
- 1 ½ Cups Light Unsweetened Coconut Milk*
- 1 TB White Vinegar
- ⅓ Cup Aquafaba (liquid from 1 can of chickpeas)
- ¼ Cup Melted Vegan Butter
- 1 Tsp Pure Madagascar Bourbon Vanilla Extract
Instructions
- In a small bowl, mix together the milk and vinegar. Set aside to allow it to curdle.
- In a large mixing bowl, combine the flour, starch, baking powder, baking soda, and sweetener. Whisk together until uniform.
- Whip the aquafaba liquid vigorously until very frothy, before adding it to the flour mixture. Then pour in the buttermilk, melted vegan butter, and vanilla.
- Mix the batter together until bubbling and activated.
- In a greased and preheated waffle maker, cook about ¼ cup of batter for a small waffle maker or about ½ cup batter for a large Belgium waffle maker. Cook the waffle according to your waffle maker's instructions.
- After each batch of waffle(s) is done, set your oven to 250°F and place finished waffles in a single layer on a baking sheet in the heated oven to allow them to finish crisping and stay warm until ready to serve.
Notes
- You can use any unsweetened non-dairy milk if you can't have canned coconut milk. You can also use lemon juice instead of vinegar.
- To freeze leftover waffles: Allow your waffles to cool completely to room temperature in a single layer on a wire rack. Transfer the waffles to a baking sheet to freeze solid in a single layer in the freezer, before wrapping them individually in wax paper and then storing in a freezer-safe bag or container (up to 6 months).
- To reheat waffles: Take frozen waffles directly from the freezer and pop them into your toaster or, for larger-sized waffles, you can toast them back up in the oven at 350°F for about 10 minutes (flipping halfway through).
Nutrition
- Serving Size: 2 Small, 1 Large Waffles

What do you think? Old-fashioned crispy, fluffy waffles on this weekend's menu? Invite me over!
So tell me:
+ Favorite waffle toppings?
———————————————-
Stay connected: Facebook: Strength and Sunshine Twitter: @RebeccaGF666 Instagram: rebeccagf666 Pinterest: RebeccaGF666 Bloglovin’: Strength and Sunshine

Helen
O wow, this is so delicious!
Rebecca Pytell
Glad you enjoyed them!
Donna
This makes me want to pull out my old waffle iron out of the back of the cabinet. Looks delicious!
Rebecca Pytell
Enjoy them!
Katie
I cant wait to try these! The recipe looks simple and delicious.
Rebecca Pytell
Hope you enjoy them!
Alene
I am so excited that you are using that flour as I recently found out that I cannot eat rice at all anymore. So I am trying to bake gluten free without rice flour, which is not easy! Thank you!
Rebecca Pytell
You can use whatever brand you'd like.
Michele Morin
You create such great food photos!
Rebecca Pytell
Thank you, I appreciate that so much!
Liz
These waffles sound delicious, not to mention look beautiful!
Rebecca Pytell
Waiting for some extra delicious toppings too!