Learn how to easily frost a simple layer cake without any fancy tools or rotating cake turntables! This beginner's guide will show you step-by-step how to quickly frost that cake without the mess or fuss! This tutorial is perfect for home bakers or novice chefs of all ages who need to frost that last-minute cake the easiest way possible!

Frosting a simple from-scratch layer cake doesn't have to be a daunting (or messy) process! You can have your cake ready for showtime in no time! From homemade birthday cakes, holidays, life milestones, graduations, anniversaries, weddings; this step-by-step visual tutorial will show you how to frost your cake with ease and have you looking like a pro (even when you're a beginner!)
No Special Tools Needed
Don't worry about running out to the store for a special spatula or rotating cake table. Sure, these baker's tools could make things a bit easier, but when you're just trying to frost a cake for your friends and family, you should be able to use what you already have in your kitchen! (Although this all-in-one bundle looks tempting to me...)
For this beginner's tutorial, all you need is a simple silicone spatula, a plate, and parchment or wax paper!
How To Frost A Layer Cake Step-By-Step
- Place four strips of parchment or wax paper down on your serving plate, covering the edges. This will keep the plate clean from excess frosting while you work and allow for easy removal when complete.
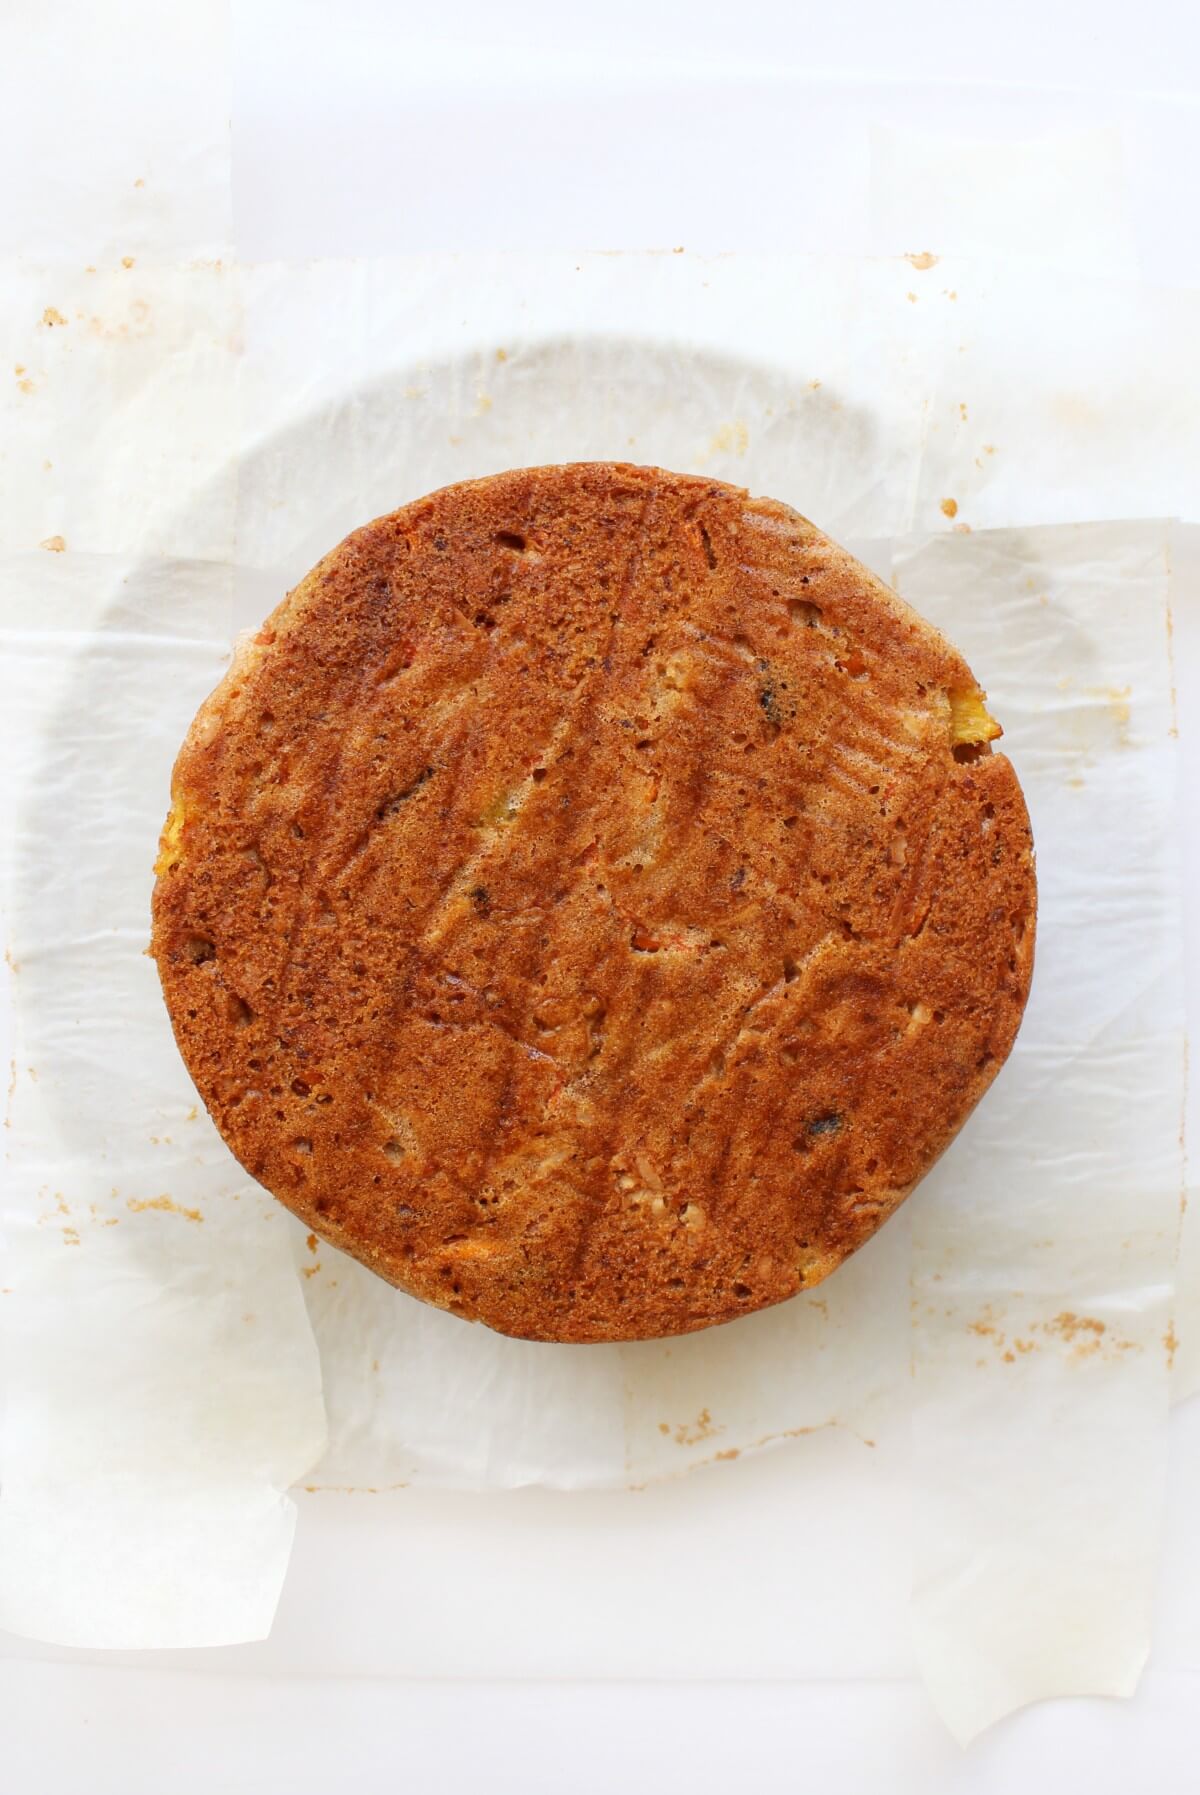
- Place your first baked and cooled cake layer upside down on the plate. The flat bottom of the cake layer should be facing up.

- Depending on the size of your cake, scoop about ⅓ cup to ½ cup of frosting onto the flat surface of the first layer of cake.

- Spread the frosting in a thick layer, leaving about ¼ inch to ⅛ inch of room around the edge.

- Place the second layer of cake down on the frosted surface, rounded side up. Both flat bottoms of the cake layers should be facing each other.
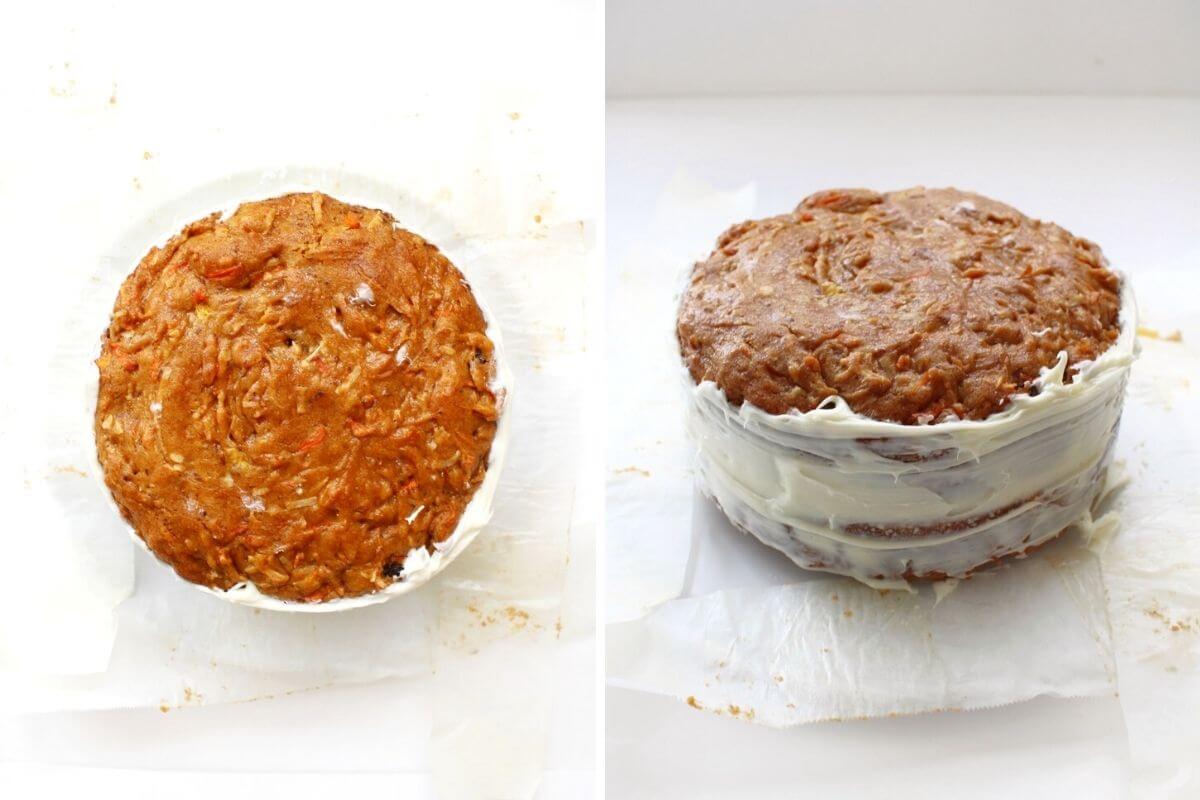
- Coat the outside of the cake with a thin layer of frosting to seal the cake together. This doesn't need to be perfect; this prevents the cake layers from sliding around. You'll be finishing the outside during the next few steps.
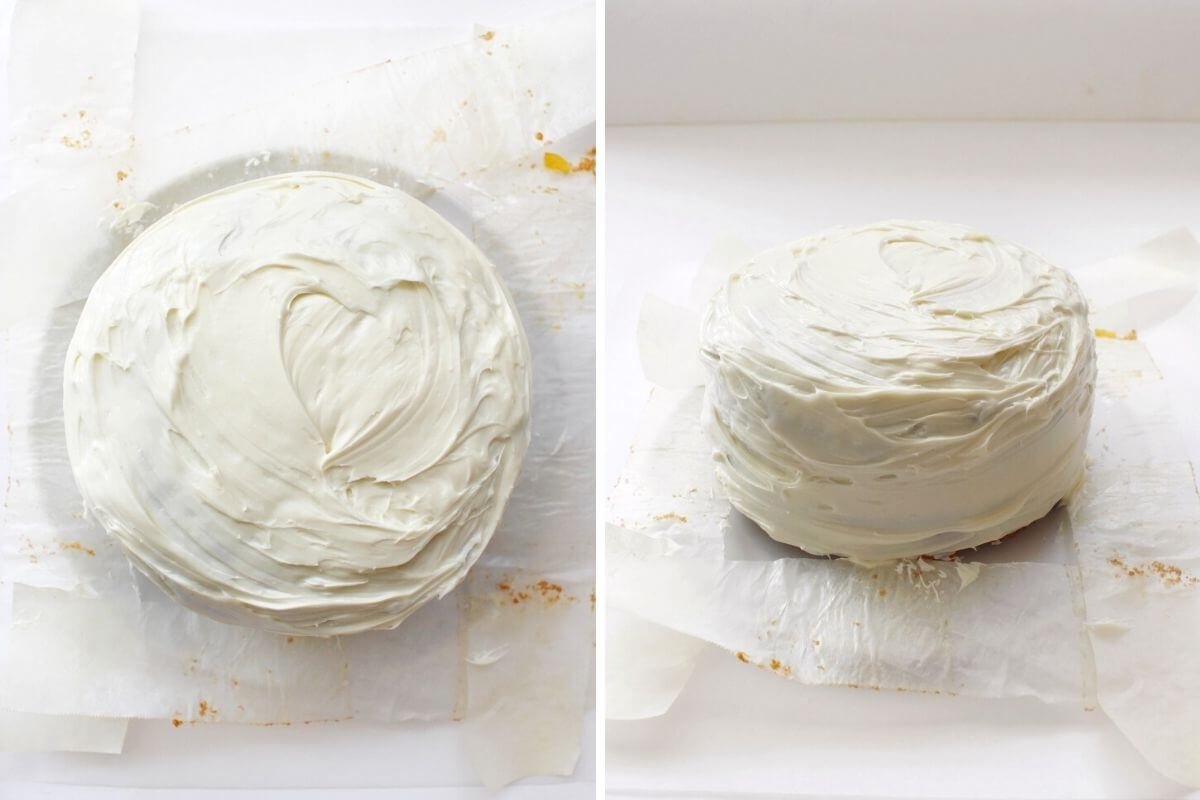
- Take the rest of your frosting and use it to thicken the sides of the cake. Here you can do swirls, make it smooth, and finish it off by adding a smooth layer of frosting to the top of your cake to cover it.

- You can present your cake as is, or while the frosting is still wet, add decorations like sprinkles, coconut, colored icings, etc. If you do want to get fancy, you can use a pastry bag, cake scrapers, or frosting shapers to customize the look of your cake.
How To Frost A Cake With Multiple Layers
When frosting a cake with more than two layers, slightly cut off or shave the rounded surface of the second cake layer before adding a layer of frosting. The third cake layer will be able to lay flat on this less domed surface. Repeat this layering process for all layers of your cake.
Frosting Tips & Tricks
- Make sure your baked cake layers have had time to cool down completely on a wire rack before beginning the frosting process.
- Make sure your frosting is at room temperature before using it on your cake.
- You can store a baked and frosted layer cake at room temperature in a cake container or carrier for up to 4-5 days. You can store it in the fridge for about 7 days.
- You can freeze a baked and frosted layer cake by allowing it to freeze solid on a tray first. Then transfer the cake into an airtight container and freeze for up to 3-6 months. Defrost the cake overnight in the fridge and bring it to room temperature before serving.
So tell me:
+ Do you like cake decorating? I'm more of a "just get it done" kind of person!
———————————————-
Stay connected: Facebook: Strength and Sunshine Twitter: @RebeccaGF666 Instagram: rebeccagf666 Pinterest: RebeccaGF666 Bloglovin’: Strength and Sunshine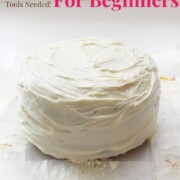
Rachael
This is so helpful! Thank you for sharing!
Rebecca Pytell
Glad to hear!